 When I printed the church there was a large piece of waste from the the supporting structure the 3D printer produces to support the overhanging parts of the print.
Initially it was head for the recycling bin but then I thought I must be able to do something with it. So it sat around for a while and then I thought about Turing into a building of some sort. I settled on a factory and began to work out what to do.
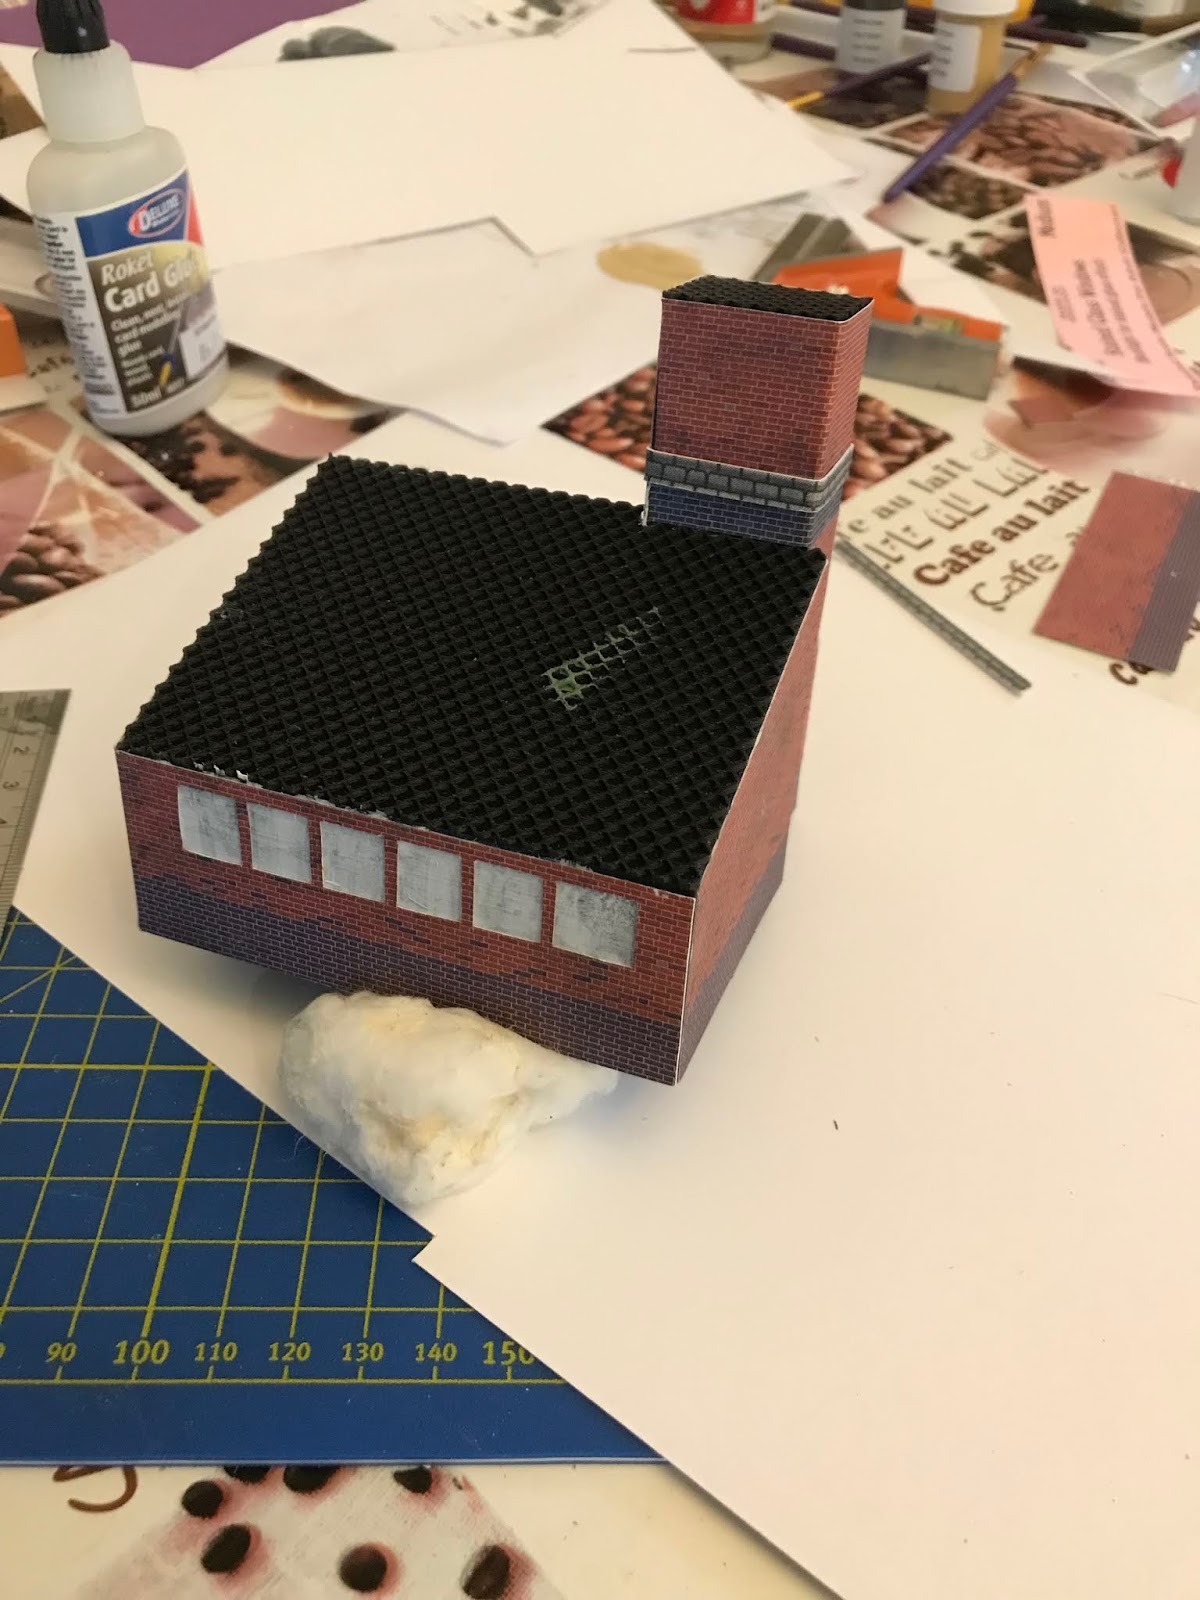
 The first thing to do was to glue the two pieces together to give the basic shape of a building with a chimney.
Most of the factories I remember from my childhood had whitewashed windows. To make these I decided to paint the window area quite roughly before adding the walls with window cutouts.
I used some Metcalf red brick card and wrapped the building. On the chimney I made a layer of engineering brick and then overlaid the join with some roof material that came with the brick card.

A bit more 3D printing and we had the chimney top and some doors.
To finish off I added some barge boards and some guttering and a downpipe. A little more weathering and this is how a waste piece of plastic became a factory.

No comments:
Post a Comment