 |
| Prototype bridge |
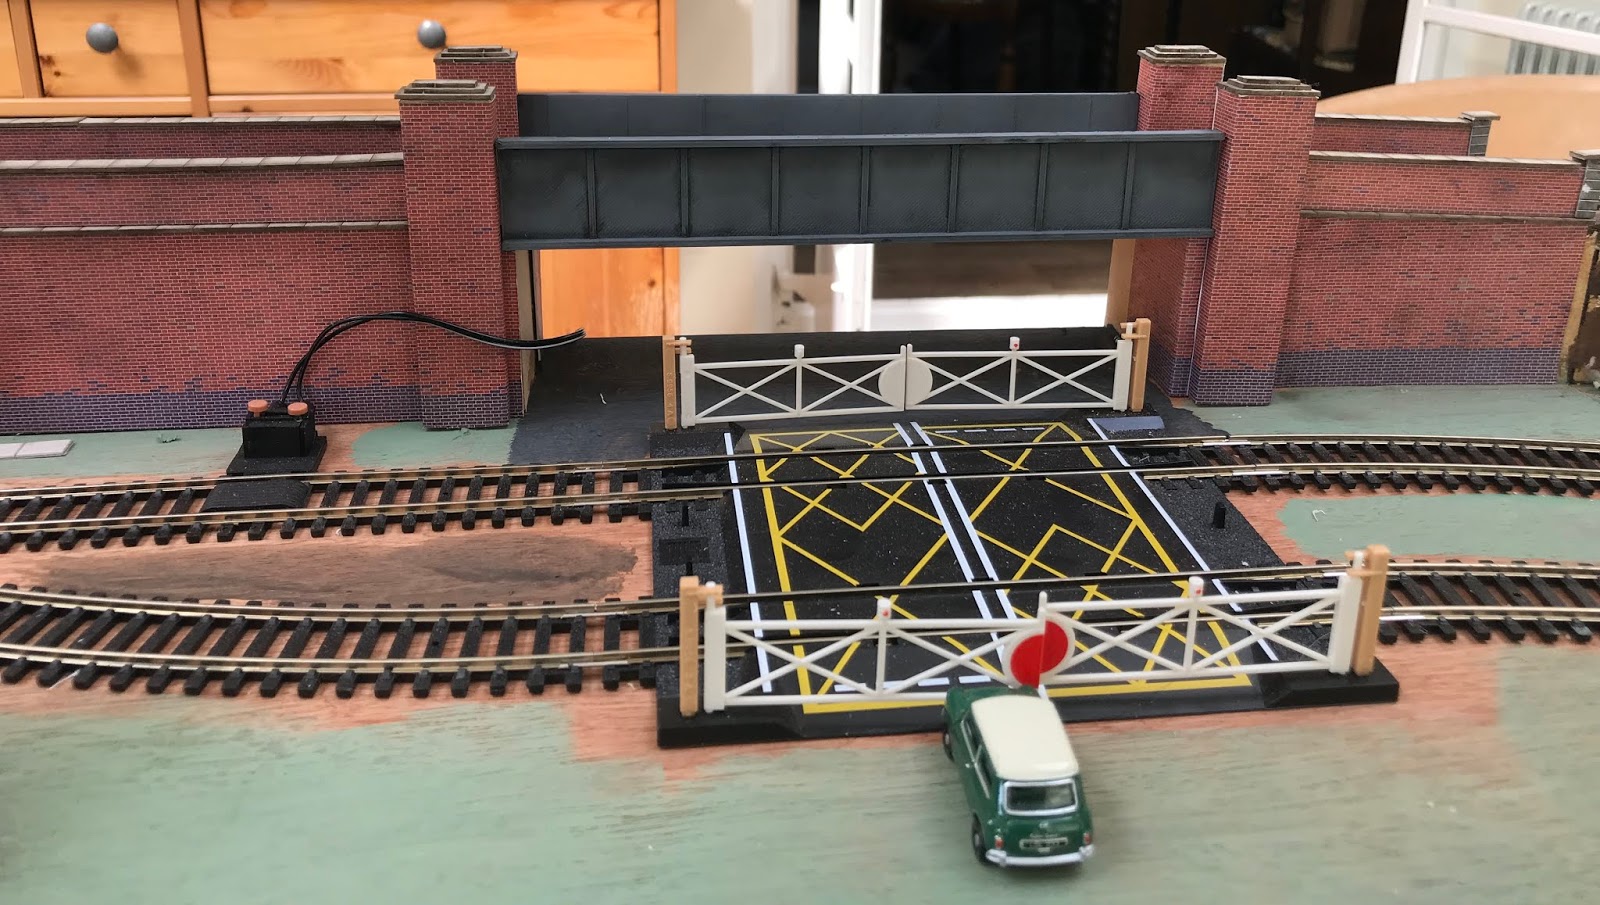
Once I'd figured out the height I built the bridge and added the side sections, all made from MDF.
The girders were 3D printed, primed in grey and then painted with a black acrylic wash to make them grimy.
With the girders superglued in place I set about building the walls.
These are simple card construction. The retaining walls are about 7mm thick and made from two layers of 3mm card and between two layers of brickwork card (Metcalf again). They are actually from the platform kit
I applied the red brick to the main walls first and then added the abutments.
 |
| Prototype Abutment |

The retaining walls were glued to a strip of stone capping from another kit and the glued in place with the capping overhanging the retaining wall. I thought this added depth and gave it a more authentic look. They were capped off with more stone and one side I went for a slopping finish and the other has a stone end pillar.
The end result is quite pleasing and once again shows that model-making isn't as difficult as it might look. I'm still learning better ways of doing things, but as that say, this is my model railway and the only person I really need to please is myself.
No comments:
Post a Comment